A Lesson in Displacement and Why I Love It

Photoshop has been quite a struggle for me since I started studying Graphic Design. While I haven't exactly been open with my academic pursuits, this particular day just made me jump with glee as I finally found a reason to love Photoshop (not really this day, but something like that). Don't get me wrong, I've always had a love-hate relationship with the program as much as I would care to admit. It was so limited in so many ways that I never appreciated it more than Illustrator, but it makes for a great package when I'm using it with InDesign. Bear in mind that I am new to this nor do I have any in-depth knowledge as to how far Photoshop can take me. To cut it short, we never got to see things eye-to-eye if we're talking about the first general impression.
This particular lesson was quite different though. Boy, do I love it!
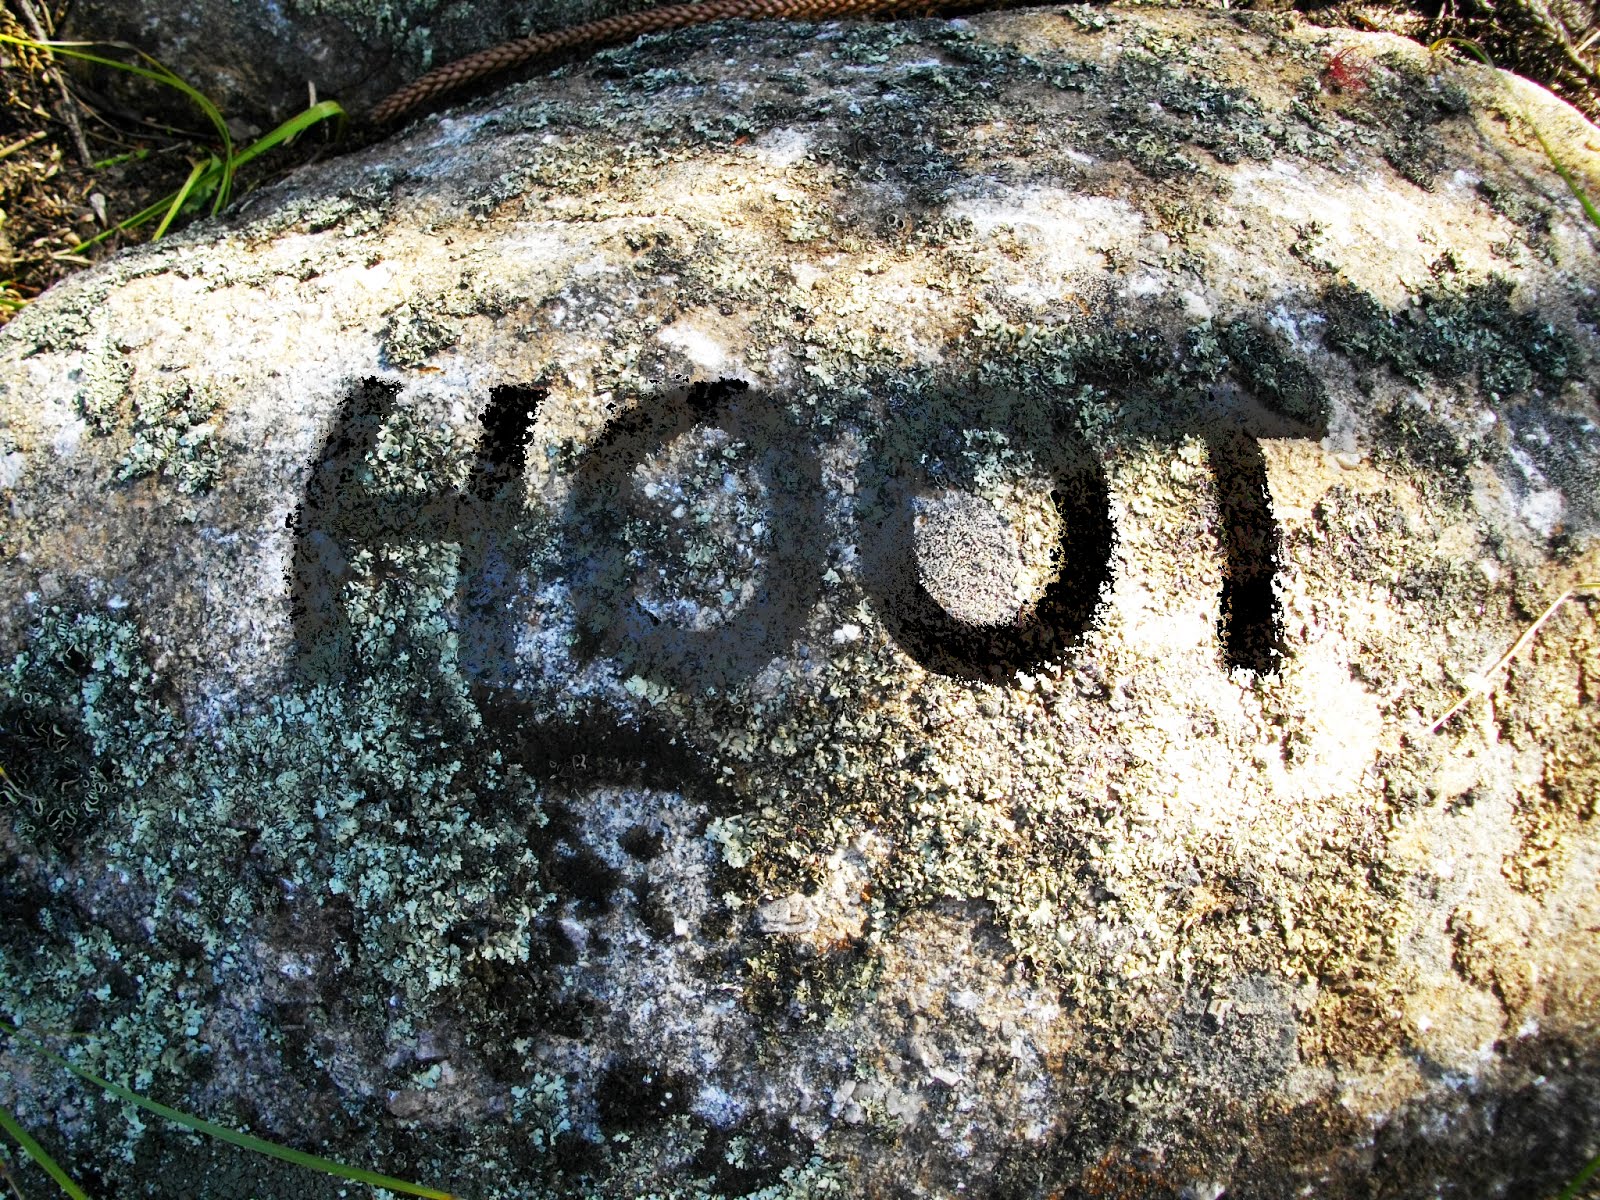
As you might notice from all the images in this post which I have taken from Google Images in random order, I had the pleasure of using and finally getting to know displacement. It is a feature in Photoshop in which you can blend a text in order to conform to the texture of your photograph as what you may have seen from above.
It's a pretty basic trick for some, but for undetermined reasons, I absolutely am incredibly in love with it. It lets you combine two things that may have been so wrong for each other. It creates a sense of belongingness, but that's digging way too deep. Plus, I may or may not be talking about a totally different situation. So going back to the topic, it's a knowledge you can add to your repertoire of Photoshop skills- if you don't have it yet, of course. Most of the time, it's a skill that lets you create something breathlessly beautiful. And who doesn't want that?
So, how do we do it? I won't provide you with images, but I will try to explain it as much as I can on how to do it. It's fairly easy if you have some knowledge on Photoshop. Also, this is the only way I know how to do it so if you have any suggestions as to how it can be done faster, feel free to share it here. Without further ado, here goes nothing.
First, open up your background file and select the channel with the highest contrast. Make sure that there is a balance between the highlights and the shadows in order to really capture the texture of the image.
Second, duplicate this channel and create a new file out of it. From this file, you can further edit the contrast of the image as much as you want. However, keep in mind that you need to be careful as your main objective is to capture the texture of the image.
Third, go back to your original image and type in your word / message. Feel free to be as creative as you like.
Fourth, rasterize your type layer and transform it accordingly to the perspective of the image. As if, it was a part of the image itself. Don't be concerned about the inconsistency as that would be the next step.
After you have rasterized your type, go to filter and then go to Distort. A number of options will pop up including Displace. Click Displace and an option will ask you something. (This part has not been properly explained to us in class, but we were told to just click okay so feel free to experiment at this stage.) Your browser will pop up, asking you which file it is that you want to use. Click on the new file you created out of the channel from the second step.
Now, you have the texture of the image on your type. To finalize this, duplicate your background layer and place the duplicate on top. Double click on it and click on Blending Mode. Leave the Blend Mode as is, but proceed to the Blend if: section underneath wherein it asks you how the blending should be. I usually set it to Red, but again, feel free to experiment with this step as well.
Finally, move the white arrow on the This Layer: and hit option while moving your cursor to capture the effect in which the type seems to be a part of the background itself.
And voila! You're done.

Well, that's about it for now. Hope you were able to enjoy creating random images as much as I did, because I seriously spent hours just creating this step over and over again. Just couldn't get enough of it!
Until next time.
ZIA


0 comments